-
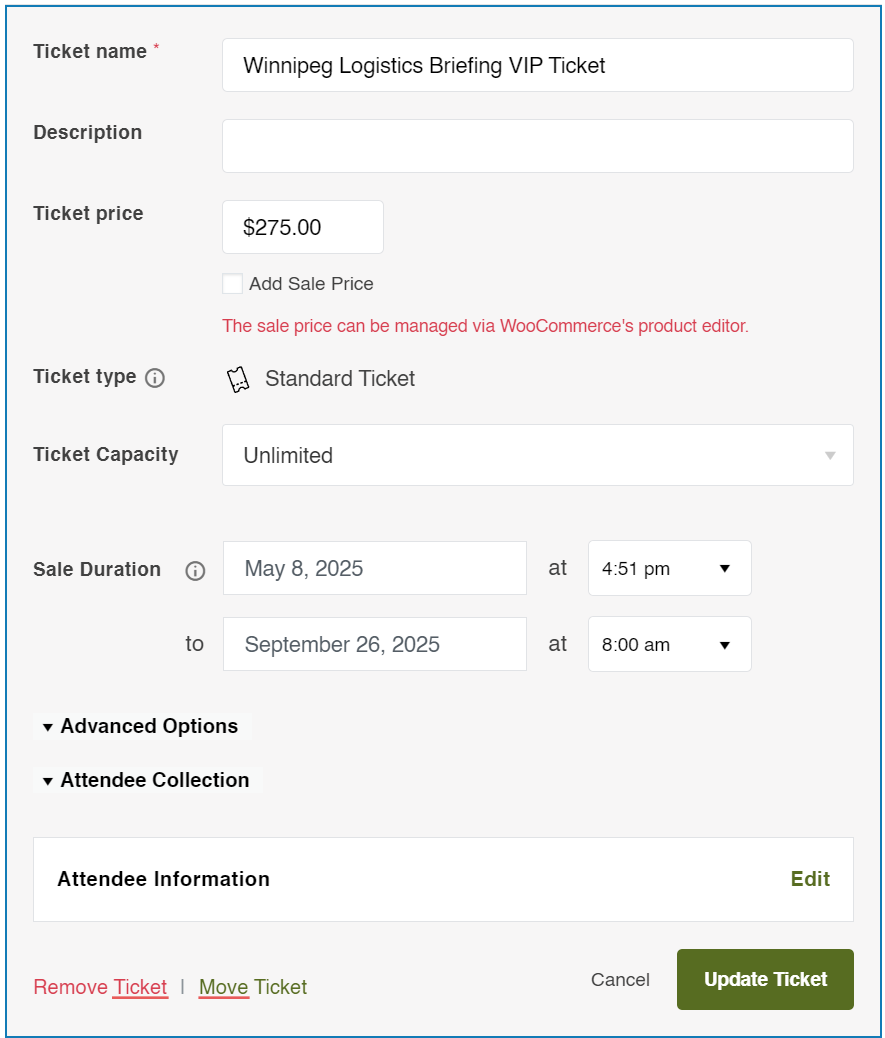
Add the Tickets block to make your event tickets available for purchase.
- Set the name of each ticket that is being sold for this event (e.g., Member Admission, Non-Member, etc.).
- Set the Price
- Enter Stock/Quantity Available
- Define the Start and End Dates for when the ticket is on sale
- Set the SKU if tracking physical tickets under “Advanced Options”
- Add “Attendee Collection” if applicable.
-
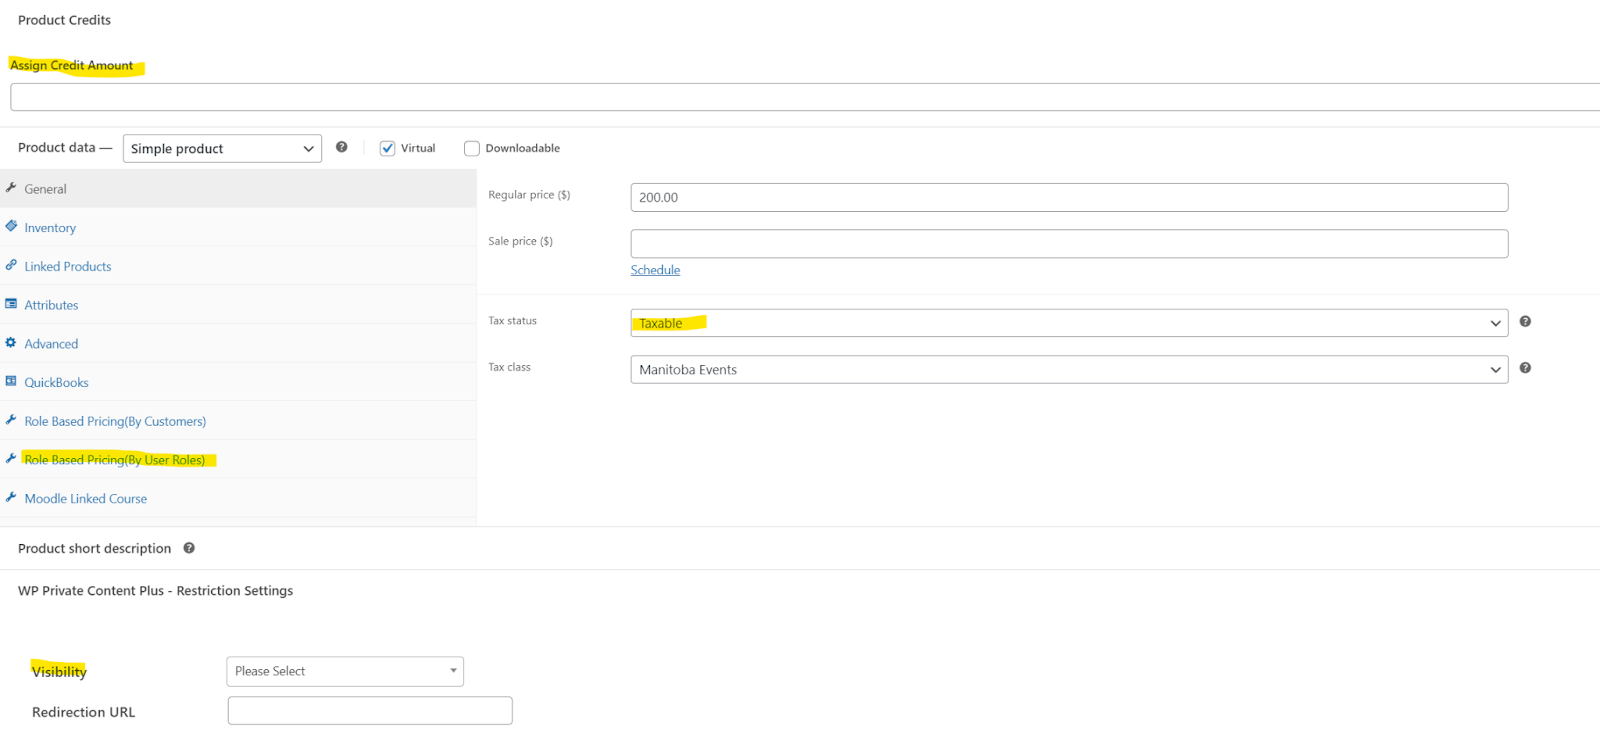
To edit a ticket in Woo:
- Go to Products > All Products
- Find the ticket (usually named after your event and ticket type)
- Edit:
- Tax rules
- GL account category (if using)
- Dynamic pricing for specific roles
- Set the visibility of the ticket for certain roles/members/users
- Click “Save” when done
How to set up RSVPs for virtual/free Events
Use RSVPs when your event is free, virtual, or doesn’t require payment, but you still want guests to register, reserve a spot, or share attendee information.
- Create or edit an event
- Add the RSVP block
- Enter RSVP details:
- RSVP Name (e.g., “General Admission”, “Free Registration”)
- Capacity to set a limit if applicable
- RSVP Open/Close Dates to control when people can RSVP
- Toggle “Hide remaining tickets” if you don’t want users to see how many spots are left
- Enable Attendee Information (optional but recommended)
- Click “+ Add Attendee Information”
- Add fields like:
- Name
- Phone number
- Consent to communications
- Click “Save RSVP”
- Complete the rest of your event details (description, date/time, venue, etc.
- Click Publish to make the event live
| For more information on how to manage tickets, please refer to the official TEC plugin documentation: Creating Tickets - Knowledgebase, Refunding and Canceling Ticket Orders - Knowledgebase, Event Tickets: Using RSVPs - Knowledgebase |
Setting up ticket-based registration questions
You can collect important information from attendees (e.g., dietary restrictions, event RSVPs, directory consent) by attaching custom fields to tickets.
-
Option 1: Add Custom Questions to a Specific Ticket (One-off Use)
- Create or edit an event
- In the Tickets Block, find the ticket you want to customize
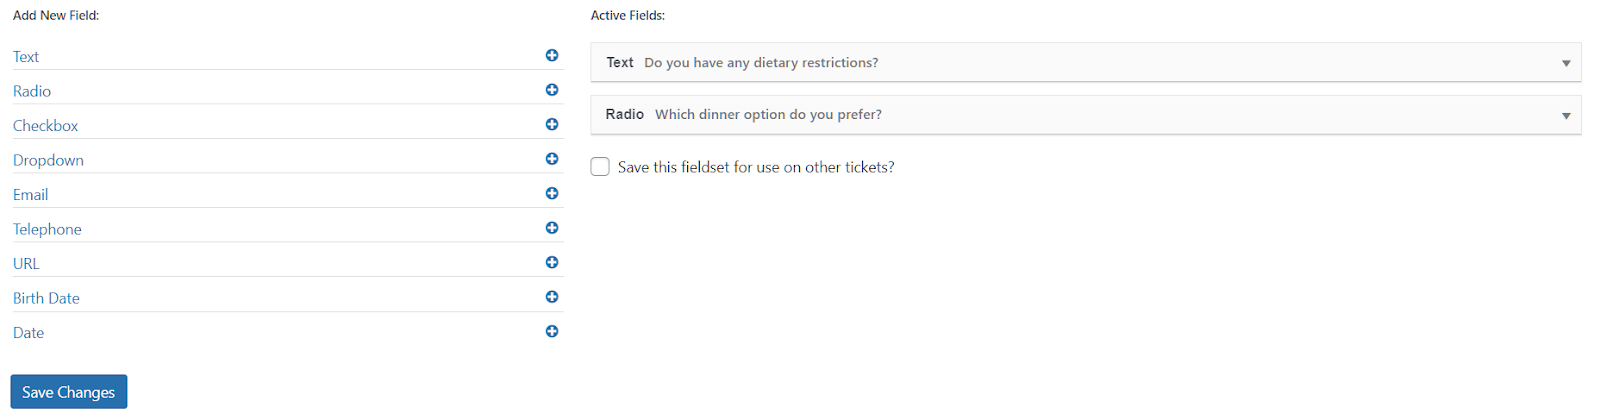
- Click “+ Add Attendee Information”
- Click “+ Add Field”
- Choose a field type (Text, Dropdown, Radio, etc.)
- Enter the field label (e.g., “Do you have any dietary restrictions?”)
- Repeat to add more questions as needed
NOTE: These questions are saved only for this ticket and won’t appear on other events unless manually re-added.
-
Option 2: Reuse a Saved Fieldset (Reusable Question Groups)
- Create or edit an event
- In the Tickets Block, find the ticket
- Click “+ Add Attendee Information”
- Instead of adding new fields, select a Saved Fieldset from the dropdown
For example: “Full Conference Attendee Info”
- The fieldset will autopopulate the fields — you can modify them if needed
- Save your modified version as a new fieldset for future reuse
-
Option 3: Set Global Default Attendee Fields (Applies to All Tickets Site-Wide)
- Navigate to Tciekts > Ticket Fieldsets
- Click “+ Add New Fieldset” or edit an existing one.
- Add the field(s) you want to appear across all tickets
Note: TEC itself doesn’t support complex conditional logic out of the box.
How to upgrade/downgrade a ticket for a user
- Go to WooCommerce > Order
- Find the original ticket purchase.
- Edit the order
- If amount is owing (upgrading a ticket)
- Add the new ticket product
- Edit the price on the new ticket to the balance due
- Refund the original ticket in full
- Recalculate totals
- Set order status to “Pending Payment”
- If an amount is owed (downgrading a ticket)
- Refund the original ticket
- Add the new ticket product
- Set the correct price on the new ticket
- Recalculate totals/Refund via original method
- Leave order status to “Completed”
- Under Order Details, click “Send Order Details”
NOTE: At this stage, no new ticket or attendee info is triggered yet.
- If amount is owing (upgrading a ticket)
- Now use TEC’s Move Tool
- Go to Events > Find your event > Attendees > Find your customer
- Click “Move” > “Move to another ticket within this event”
- Select the new ticket type
- Since it’s already paid, this won’t trigger a second WooCommerce order
- The attendee record is updated, and only one final ticket is emailed
|
Watch the video tutorial on completing this process. |
How to transfer tickets between attendees
If Attendee A (CCLP Member – paid $100) wants to transfer to Attendee B (Non-Member – price is $150):
In Woo, calculate and apply balance:
- Go to WooCommerce > Orders > Customer’s Order
- Refund their ticket
- Create a new order for a new customer:
- Go to WooCommerce > Orders > Add New
- Add product ticket product
- Apply applicable discounts
- Add billing info for the new customer
- Email the invoice or manually charge the $50 difference
In Events, transfer the ticket to the new customer:
- Go to Events >Event >Attendees
- Find the attendee record
- Click Edit to change the name and email to Attendee B
- Save the changes
Comments
0 comments
Article is closed for comments.